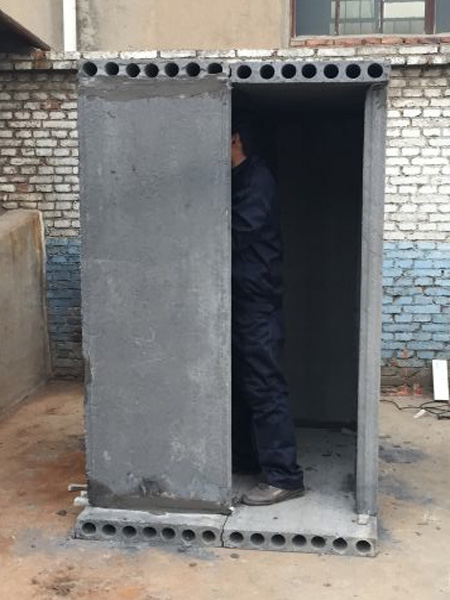
Prefab Toilet Block - Floor, walls & Roof from panels: -
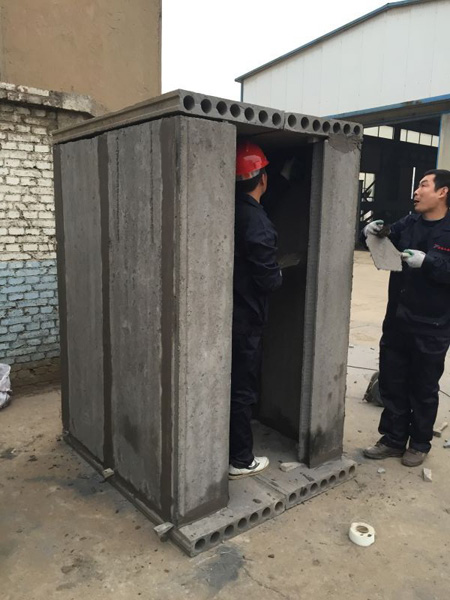
A). Labor team for Installation: - 1 skilled train worker + 2 unskilled workers.
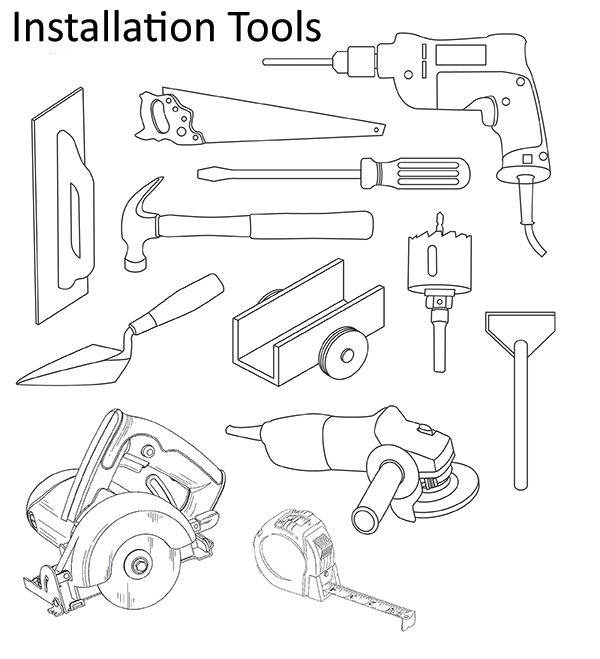
B). Tools for Installation: -
- Drilling machine (¾ inch Dia.) with different types of Drills & Boring tool.
- Circular saw cutting machine with 120mm blade diameter. (similar to Tile cutting machine).
- Mild Steel Pipe of 2 inch Dia. approx. about 30 / 36 inch long for lifting of panels.
- 2 Tire trolley – for shifting of panels.
- Special designed steel crowbar for Raising Wall panel vertically for aligning.
- Complete Tool kit, Nylon string, Sprite liquid level ruler 600mm long, measuring tape.
- Plastering Trowels etc.
C). Consumable per Toilet block Unit: -
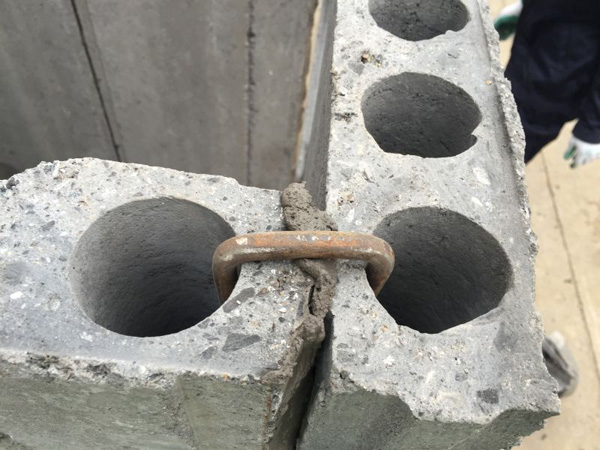
- U shape 12.7mm dia. steel bar for locking 2 panels as shown – 3 - 4 nos.
- Inserting Timber/ wooden wedges for locking of panels - 10- 15 Nos.
- Cement motor + Birla wall putty for Finishing of wall+ Grout material
- Optional-Fiber glass mesh tape.
- Optional - Mild steel Galvanized brackets ‘L’ shaped to be screwed at the corners – 3 - 6 nos.
- Screw with plugs – 12 – 15 nos.
- Necessary Paint.
Method to construct Toilet block – Please refer various pictures & video for assemble given on website
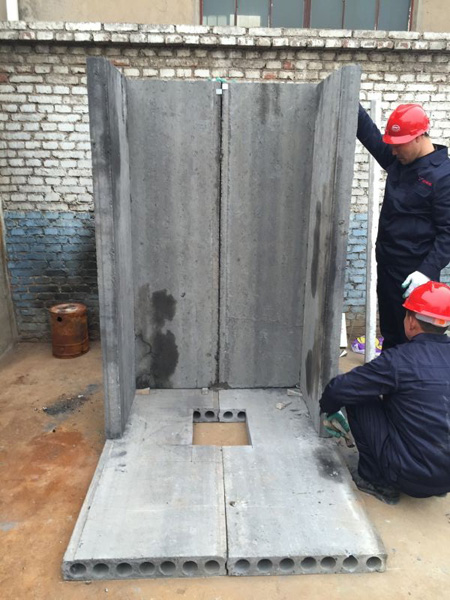
- Level & compact the land where toilet block is to be fitted & make all the other necessary arrangements before Toilet blocks floor, wall & roof is being assembled / constructed.
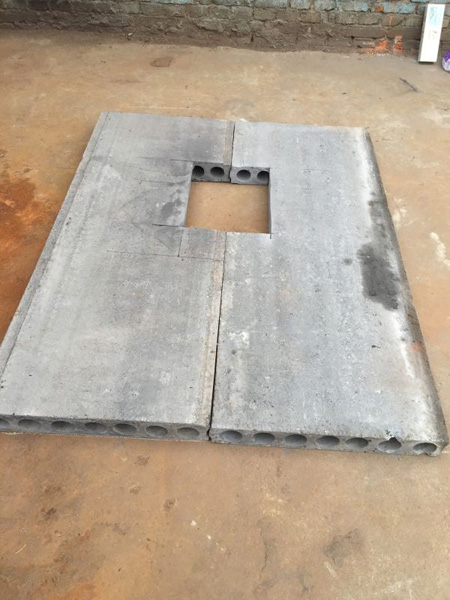
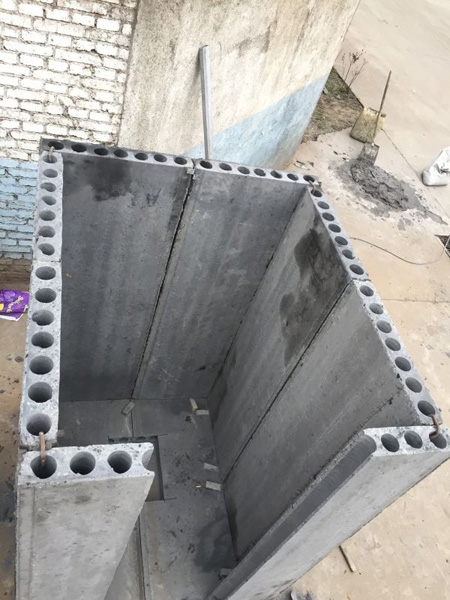
- Cut out pocket & Hole for air vent pipe between 2 panels as per dimension of ceramic Toilet pan.
- Mark out the center line of different walls & door of Toilet in reference with toilet pan.
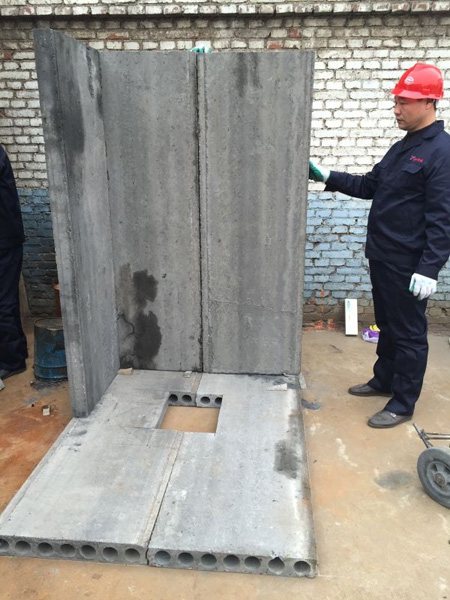
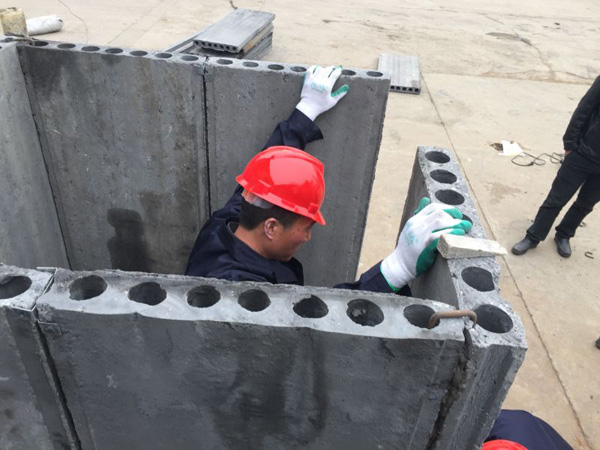
- Move the 1St panels into position for installation with the help of pipe & trolley. Prior to surface grouting the joints the surface receiving the grout is washed thoroughly, the grout is mixed & applied properly.
- Apply Surface grout on the bottom & on one face of panel to be erected vertically.
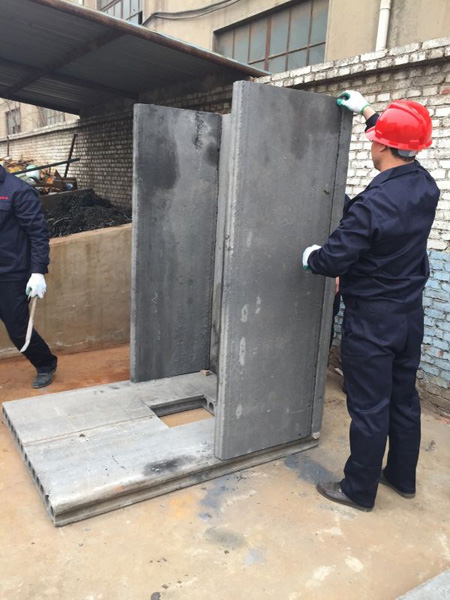
- Move 2nd panels right angle to 1st panels as above.
- Use crow bar, Sprite liquid level & Timber wedges to align the wall Panel with each other.
- Drill, plug & screw at various points of panels to hold them to each other in Right-angle position.
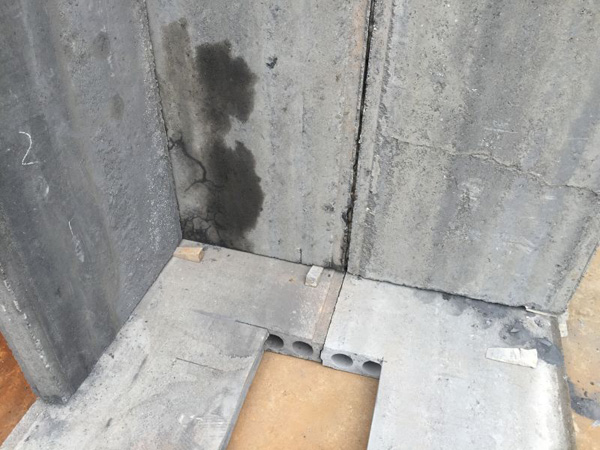
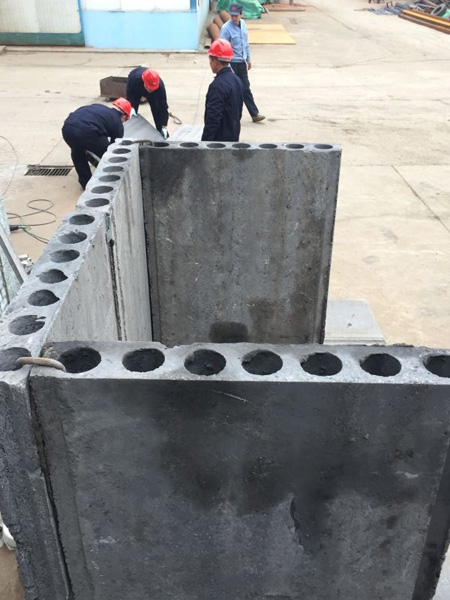
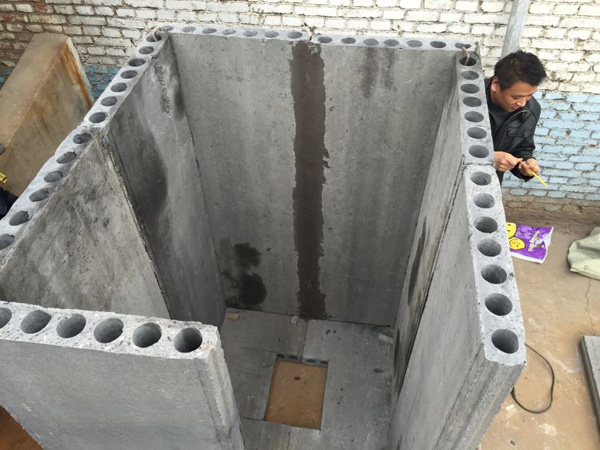
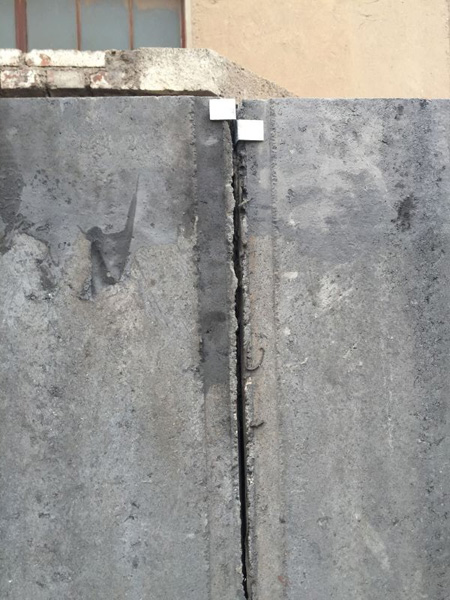
- Move 3rd panel in line with 2nd panel & lock them each other in Tongue & groove of it and align the panel to make a wall. Cementations jointing compound is applied between abutting panels in the tongue or groove of panel & at the bottom of panel.
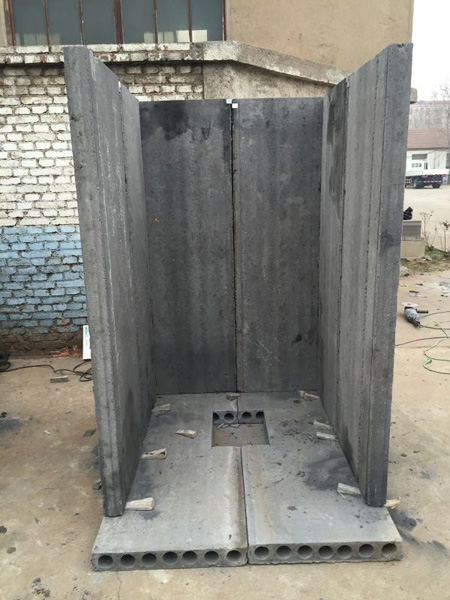
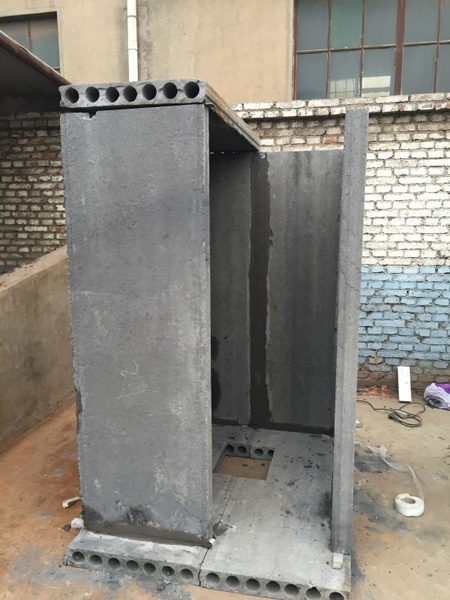
- Similarly fix all the remaining panels to make walls of Toilet block.
- For further locking & holding of panels to each other make use of Cavity Anchors “U” in shape to be fitted in the cores on the top of panel & ‘L’ at the corners of walls at top & bottom.
- After installation of walls, services like electrical wiring, plumbing & other services etc. can be concealed within the core of the Hollow core wall panel.
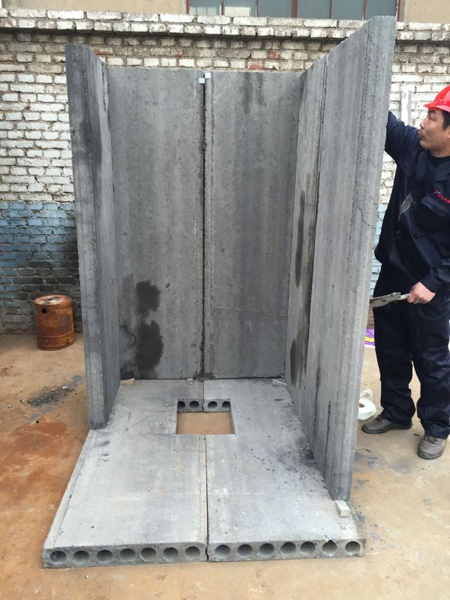
- Finish jointing area with fibre glass mesh & Cementations jointing compound to avoid cracks at joints.
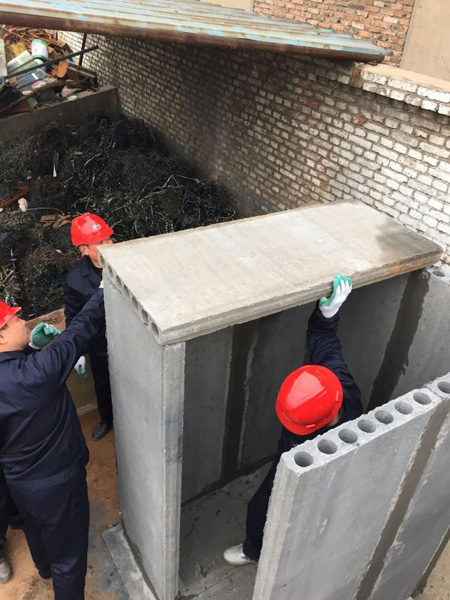
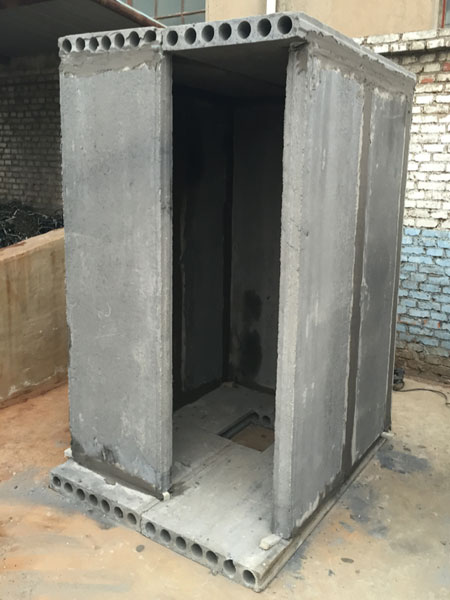
- Place top Roof panel on the wall by interlocking them in Tongue & groove & place fibre glass mesh on the Jointing area & Cementations jointing compound to seal the gap if any.
- Now fill cement motor in the gaps at Top & bottom of each panel.
- Ventilation can be provided by Cutting / Slitting required size pocket on the walls of the Toilet Blocks
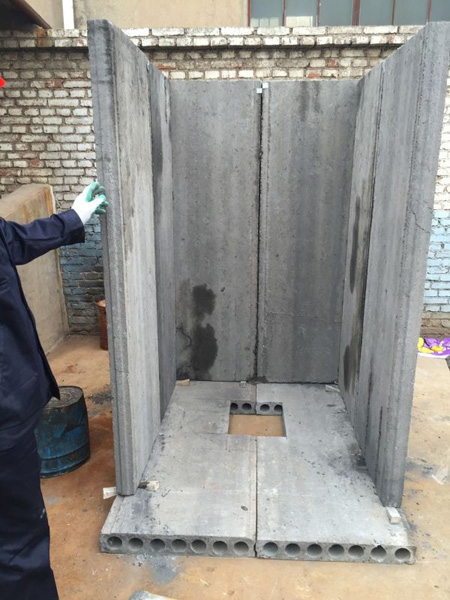
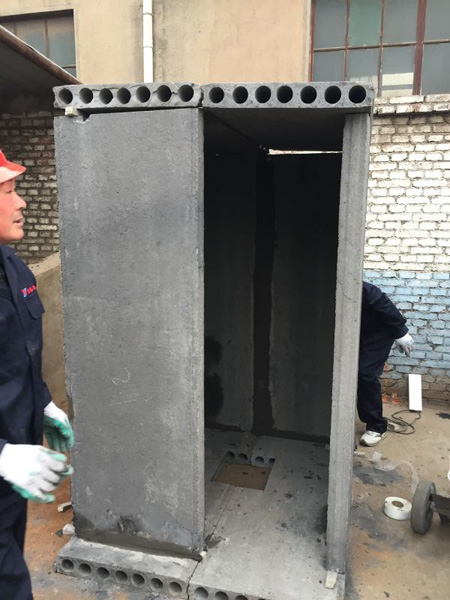
- Check all the Walls & then plaster & level it with skim coat of Birla white putty cement.
- Soak pit tank & necessary steps for Toilet block can also be made from same panel by cutting them as per requirement.
- After Correction & inspection is done take-up Toilet for door fitting etc. & then for painting as required.